This Minecraft tutorial explains how to use a name tag with screenshots and step-by-step instructions.
In Minecraft, you can give a mob a name with a name tag, but first you need to use ananvil to add the name to the name tag. Let's explore how to do this in the game.
Required Materials to Use a Name Tag
In Minecraft, these are the materials you need to use a name tag:


Steps to Use a Name Tag
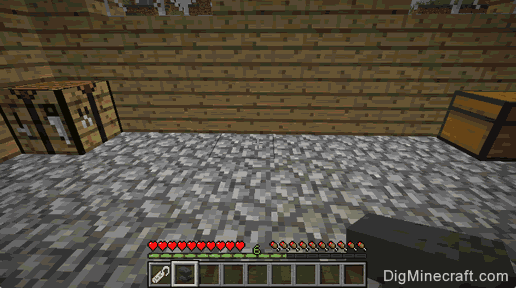
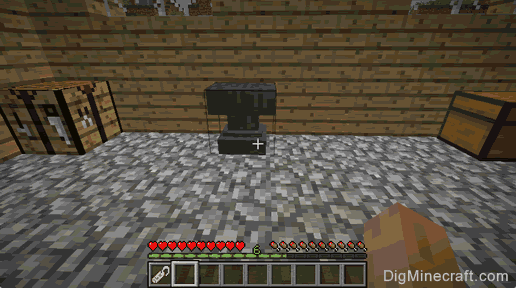
1. Place the Anvil
Once you have the required materials, add the anvil to your hotbar so that it is an item that you can use.
Next, position your pointer (the plus sign) on the block where you want to place the anvil. You should see the block become highlighted in your game window.
The game control to place the anvil depends on the version of Minecraft:
- For PC/Mac, right click on the block.
- For Pocket Edition (PE), you tap on the block.
- For PS3 and PS4, press the L2 button on the PS controller.
- For Xbox 360 and Xbox One, press the LT button on the Xbox controller.
- For Windows 10 Edition, right click on the block.
- For Wii U, press the ZL button on the gamepad.
- For Education Edition, right click on the block.
2. Use the Anvil
To use the anvil, you need to stand in front of it.
The game control to use the anvil depends on the version of Minecraft:
- For PC/Mac, right click on the anvil.
- For Pocket Edition (PE), you tap on the anvil.
- For PS3 and PS4, press the L2 button on the PS controller.
- For Xbox 360 and Xbox One, press the LT button on the Xbox controller.
- For Windows 10 Edition, right click on the anvil.
- For Wii U, press the ZL button on the gamepad.
- For Education Edition, right click on the anvil.
Now your anvil is open and you can see the Repair & Name menu.
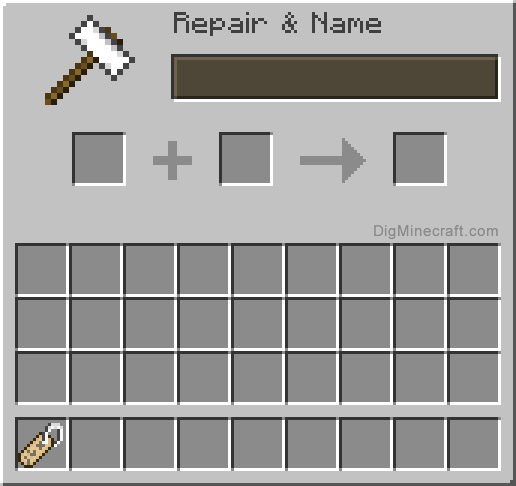
3. Add the Name to the Name Tag
Next, you need to add a name to the name tag. To do this, start by moving the name tag into the first slot. Then click on the brown box where it says "Name Tag" so that you can add a name.
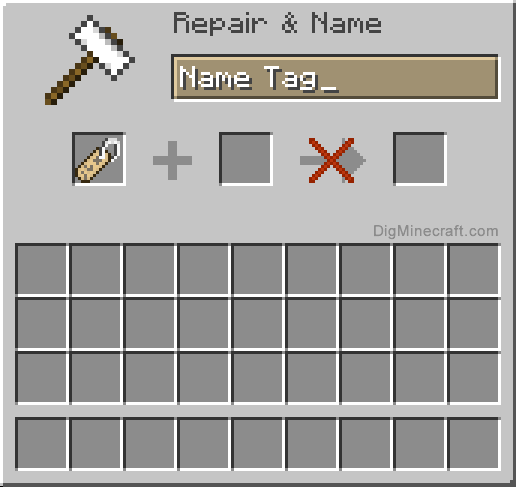
Press the Delete key to remove the words "Name Tag" and then type the name you would like to call your mob. In this example, we have typed the name Daisy. This is what we want to call our cow in the game.
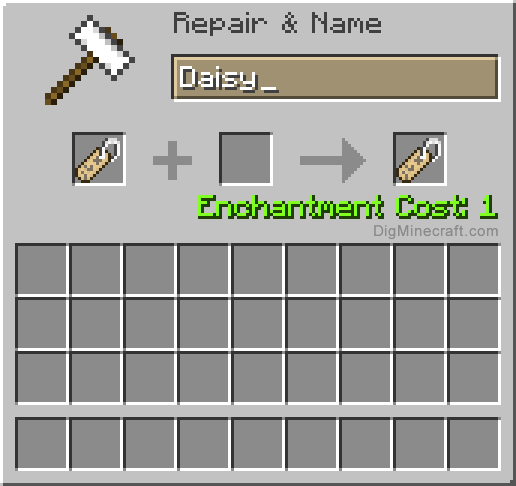
In the third slot, you will see the name tag that has the name of Daisy. It will cost 1 experience level to change the name tag.
4. Move the Name Tag to Inventory
Now, move the name tag from the third slot into your inventory hotbar.

The 1 experience level will be deducted from your experience bar.
5. Put the Name Tag on the Mob
Now that you have finished the name tag, you need to put it on your mob. In this example, we want to use it on our cow. Stand in front of the cow with the name tag selected in the hot bar.

The game control to use the name tag depends on the version of Minecraft:
- For PC/Mac, right click on the cow.
- For Pocket Edition (PE), you tap on the cow.
- For PS3 and PS4, press the L2 button on the PS controller.
- For Xbox 360 and Xbox One, press the LT button on the Xbox controller.
- For Windows 10 Edition, right click on the cow.
- For Wii U, press the ZL button on the gamepad.
- For Education Edition, right click on the cow.
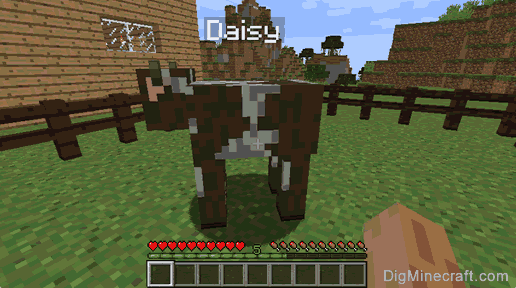
Now when you move your pointer to the cow, you should see the custom name of Daisy appear above the cow's head. Your cow is officially named Daisy!!
Congratulations, you just learned how to use a name tag in Minecraft.
0 comments:
Post a Comment